Showing posts with label anchovy. Show all posts

Friday, April 16, 2010

schnitzel: if you like crunchy food like i do, this is an easy dish to prepare


schnit·zel

n.

A thin cutlet of veal, usually seasoned, that is dipped in batter and fried.

[German, from Middle High German snitzel, diminutive of sniz, slice, from snitzen, to carve]


(Cookery) a thin slice of meat, esp veal See also Wiener schnitzel

[German: cutlet, from schnitzen to carve, schnitzeln to whittle

i know that everyone says to avoid fired foods and breading and batters, but if eaten in moderation, and if prepared in good oil, and eaten immediately, treat yourself to some schnitzel.

you can prepare this dish in the classic way with with veal - but pork, chicken, turkey or even lamb and beef can also be used. 
 
when i was working for chef rudy hilfiker in his connecticut restaurant that specialized in swiss cuisine, this was by far the most popular item on the menu.  he had a sous chef who worked days as an instructor at the cia, that would be the culinary institute of america, not the cia in langley, va. :-o between the two of us we were hard pressed at ties to keep yup with schnitzel production during meal time. because foods that are breaded and in this manner suffer incredibly indignities if prepared in advance of frying, we were only able to pound out and tenderize the veal before hand, and never were we to bread it until it was just going into the pan.

this restaurant sat 70 people at capacity, and we did 2 fully sold out seatings a night, 7 nights a week. with out fail, 140 pax a day, guaranteed. despite knowing that this would happen, rudy forbid use to bread schnitzel until the orders came in. but then, that is one very big reason that we were at capacity 365 nights a year. among all the other great dishes he had on his menu.

besides these great items that we prepared, every guest also had their choice of all they could eat of his fantastic (fresh) authentic rosti potatoes, buttered carrots, green beans almondine, spinach souffle and braised romaine lettuce (a simply elegant side veg).

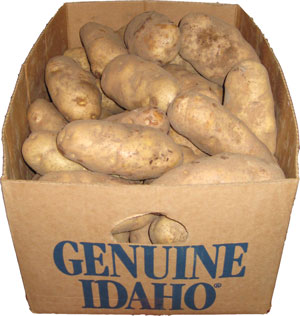
we served so much food at this place that i had to peel and HAND cut no less than 50 pounds of carrots a day and snap no less than a bushel of string beans, too. and the day before we would steam, and then peel while hot, 100 pounds of potatoes (the linked image is 50 lbs. only) for rosti, but this is why they came in droves from as far away as nyc.
You will need:
  • a meat mallet or tenderizing mallet as some call it (use the pebbled side and try to swing it level so as not to hit the meat with the edge only!)
  • the meat, as portions as you see fit
  • all purpose flour for dredging
  • eggs, beaten
  • bread crumbs, either traditional (home made or store bought) or the japanese panko crumbs that seem to be all the rage the last few years
  • demi-glace, gravy or brown sauce, what ever you have on hand (you could use a cream or supreme sauce too if that is what you like, but it is in no way traditional)
  • the garnishes shown in the picture below as well as a starch and veg of choice

How you do it:
  1. as always, do the best shopping as you can, and gather everything together.
  2. if you have not had the local butcher/grocer prepare your meat or poultry for you then thinly slice your veal or pork into escalopes. if using chicken breast and they are rather large and thick, filet them in to tow pieces each, the same goes for turkey. i like to use a boneless skinless chicken leg and thigh piece (one of my favorite cuts of poultry). this is not so easy to do and you can easily cut yourself trying. so if you wish to use this cut have buy it already prepared like this. (i happen to think that this is the most flavorful choice of them all if veal is off the menu. chicken prepared this way is actually called bachandle.)
  3. sandwich the thin pieces between sheets of saran, bakers paper or recycled plastic shopping bags (my favorite). 
  4. using a meat tenderizing mallet gently pound the pieces on both sides. if only on one side the pieces will have a tendency to retract back and also cup when they are cooked. if you are using chicken breasts that tend to be thicker at one end, pound that area a bit more. the object is to achieve a nice consistently thin (.05 cm) piece so it will fry quickly and evenly. the meat must be fully cooked when the bread crumbs are or you will not like what you are putting into your mouth, either raw meat, or burnt breading.
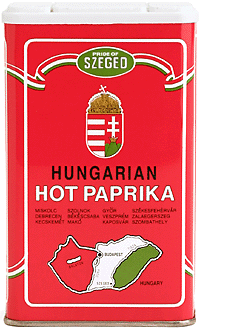
  5. once the pieces are all pounded spread them out on so that they are all just touching edges. season with salt and pepper and also a bit of powdered mustard. you could also use a good paprika if you want.
  6. IMPORTANT: prepare everything else that you will need and set aside to keep warm. the starch, the veggies, the sauce and the garnishes. once you start cooking the meat you will have no time for ANYTHING else.
  7. then dredge each piece in the flour. Note: i use a plastic bag for this. it gets the job doe well and doesn't get flour all over the kitchen. eliminates cleaning a bowl and recycles a plastic grocery bag ta-boot.)
  8. next wash the floured pieces in the well beaten eggs. if you use a bowl large enough you can get more than a few pieces into the egg at a time, this allows the flour to absorb the egg quite well and thus make the final step of breading a more complete one.
  9. i then take a large bowl or pan (or another plastic bag) which i have previously filled with the desired style of bread crumbs and put one piece at a time into the crumbs. i then make certain that the crumbs have fully covered the piece of meat, press the crumbs ever so lightly into the egg wash to make certain it has adhered. and then repeat until all the pieces are breaded. you really do not want to do this any more than 5 or 10 minutes before frying. IMPORTANT NOTE: how you perform the breading is a major part of your success with this dish. 100% coverage is mandatory to avoid any of the oil getting under the breading and making the pieces greasy and soggy, YUCK! if you press to hard on the pieces the breading will not be able to puff up and away from the meat creating a casing rather than a coating. which will all effect the texture, the taste and the appearance of the finished dish.
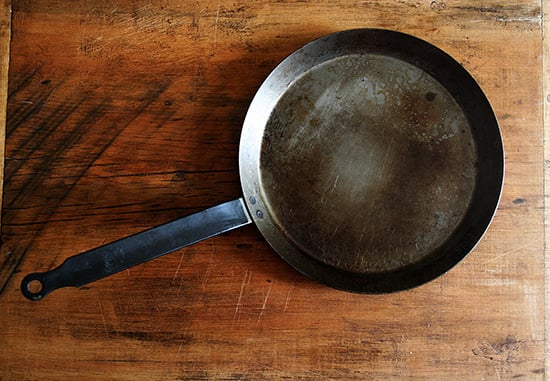
  10. using a heavy bottomed deep pan (not one with a non-stick finish PLEASE), or one of those nifty counter top fryers that are available for home use these days, and the best oil you can buy (typically not olive oil, but you can if you feel you must) is a quick and easy way to prepare this dish. however, the traditional method, and the tastiest method is to use butter ( or butter with a bit of oil added to up the flash point a bit) in a thin bottomed non-stick fry panthis second method requires expertise, a fast hand and if you are making more than 1 or 2 portions, a bit of a hassle. but the taste will be oh so much richer.
  11. bring whatever shortening you are using up to a temperature that when tested with some loose breadcrumbs tells you that you are hot enough to fry, but not so hot as to burn your food.
  12. fry the pieces of meat until they are golden brown, remove them to a wire rack or plate and repeat until all the pieces are done.
  13. next put an amount of the sauce onto the plate, place the prepared meat on top of that, and then add whatever else you will be serving with the dish.
  14. serve and enjoy!
The Usual Afterthoughts and Pointers: in the photos below you will see 2 versions. classic schnitzel ala holstein is garnished with a sunny side up egg and a slice of lemon topped with anchovy and capers. just sublime. the other picture shows a version i made one night because i just happen to love hollandaise sauce and there was some sitting on the counter in front of me and i could not resist.
no need to put sauce on top, this will ruin the crispy effect. if you like a lot of sauce either put it under the meat or in a side dish for dipping. 
rosti potatoes are perfect with this as is spaetzle. mash would be second choice and i would not be adverse to broad egg noodles either.  carrots is the classic side, but any veg will do. in the photo here i have sauteed the spaetzle noodles in butter with shallots, diced carrots, green peas and chopped parsley.

holstein in the traditional style with a side of veggie spaetzle
ratatouille and mash
fried egg and the lemon, anchovy and caper garnish
heavenly!

here it is with a bit of hollandaise and a strip of 'chovey.
we use a lot of lime in thailand as good lemons are not always available.

Friday, April 9, 2010

shrimp & oysters w/ fettuccine in tomato cream

something i never did until i met my mentor chef ted, was to use classic marinara sauce as a base and add almost anything to it. if there is one thing i learned form him that i do more often than any other, it is that.

this dish, once all the ingredients are assembled is actually a quite simple one that yields fantastic results and ooooh's and aahhhhh's form who ever eats it. on this particular afternoon i was cooking for someone who had expressed to me that they were extremely hungry, so i used X-treme measures. if you look at the picture of the finished dish you will see what i am referring to. the dish is actually a serving platter that is 44 cm wide, which is only one centimeter shy of a foot and a half across. this should give yo a bit of scale for reference. the shrimps were fresh from the emporium's 5th floor market and each one after cooking was 6 cm in diameter. if i remember correctly they were about $6.50 USD a piece and weighed in at 325 grams each with the shell on. and those beautiful little feta stuffed peperoncini peppers (#2 in the image) were about 1.00 USD a piece. add the endangered species pine nuts to that and some pernod liquor, and this dish, although simple, is a costly one. however, value for money, it can't be beat. makes a great christmas dinner appetizer (serve one to each guest on a small nest of pasta with one pepper and a very thin slice of garlic bread) or maybe show someone special how much you really care and cook this for valentine's, the coloring is perfect for that.

like everything else i post here, the ingredient portions are not specific, use your best judgment and refer to the colors in the photos to achieve the desired results.

you will need: 
  • shrimp, fresh, as large as you can find, the bigger, the moister, the more flavorful, but fresh!
  • oysters, fresh shucked, in their own liquor (juice - if not available you could substitute mussels or hard shell clams i guess - or leave them out)
  • marinara sauce, homemade (or store bought tomato sauce amplified with diced canned tomatoes and anchovies, basil and capers added)
  • leek, minced
  • shallot, fresh, minced
  • olive oil, extra virgin, light, no matter, just a good one
  • olive oil margarine (is there such a thing? i bet that's a misnomer, better to just call it spread)
  • fresh italian basil, do not chop if small leaves, or only chop a little bit
  • parsley - italian preferred, curly ok, whole and chopped
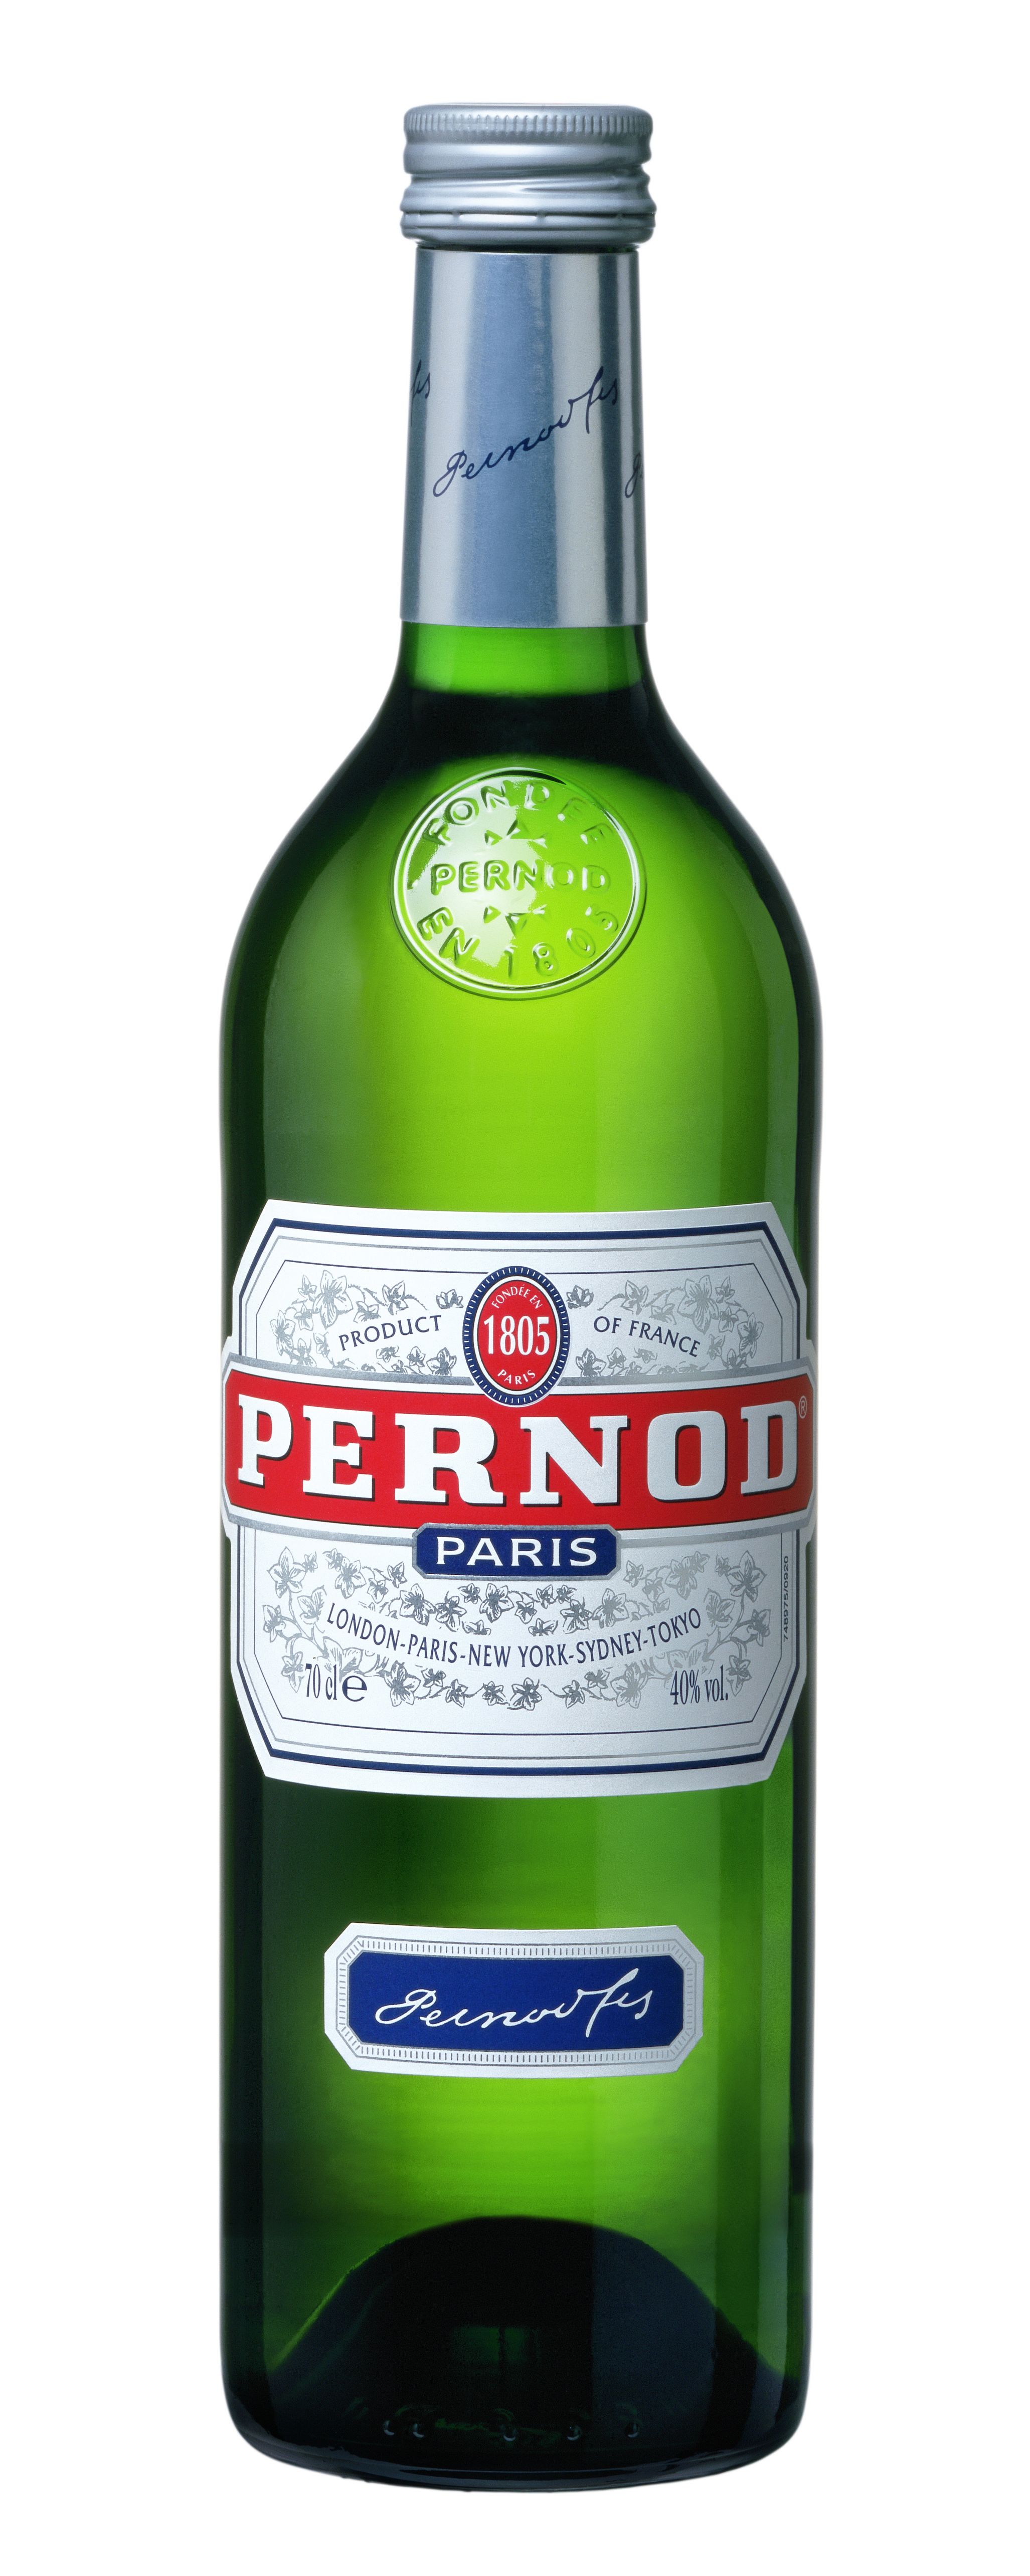
  • pernod, portion some into a small glass or dish. DO NOT POUR STRAIGHT FORM THE BOTTLE INTO THE PAN UNLESS YOU HAVE A DEATH WISH OR WANT TO BE CALLED LEATHER FACE FOR THE REST OF YOUR LIFE.
  • feta stuffed peperoncini marinated in olive oil 
  • pine nuts, toasted (follow the link and check out the part titled: ecology and status)
  • sun-dried tomato pesto, you will only be using the oil so do not stir it up, and if necessary,add some olive oil to the jar to provide you with enough.
  • capers (if you do not have home made marinara sauce)
  • anchovies (if you do not have home made marinara sauce)
  • black pepper, fresh, rough ground
  • paprika, a good one, not the stuff used to decorate deviled eggs 
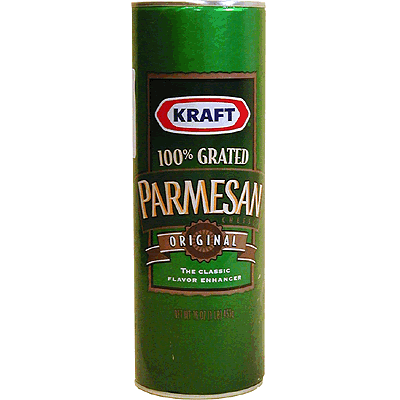
  • parmigiano cheese, grated not ground if possible (fresh is best, ground tastes like sand, especially if it is the kind from a box or jar. this type of cheese usually won't behave as you would want it too, and won't incorporate/melt into the sauce. thus leaving it with a gritty texture that will lay on the tongue. YUCK! FAILURE!)
  • fettuccine, fresh if you can find it (spinach flavored is ok too and adds some more color, especially for a christmas dish) dried if not available (the link to the fett is an awesome blog i just discovered.)
  • baguette, fresh (or a similar style bread, but fresh is imperative, isn't it?)
  • garlic butter that has been prepared days or weeks in advance (sure you can make it right then and there, but time will show you the difference with this basic ingredient. i think i will have to do a post on this stalwart of my frig, as well as marinara)
a picture is worth a bazillion words (you can always click the pic for a larger image):


btw, i be listening to sade's soldier of love as i write this post, great mood music for just about anything. nice back on sade, isn't it? (some people and things never get older, just better!)


how its done, the method, techniques and assembly:
  1. get everything you will need ready. 
  2. if using dry pasta, cook it to the desired bite, i prefer al dente, shock in water and coat with a small amount of olive oil (or anchovy or sun-dried tomato pesto oil). toss with a small amount of chopped parsley, and set aside.
  3. prepare the tomato sauce if you do not have marinara. simply take the best jar of tomato sauce you can find (basic tomato or flavored, with olives added is great), the canned diced tomatoes, a small spoon of capers, 2 or 3 anchovies and a bit of the oil from the jar/can and heat through. (before you put the 'chovies away, top the jar off with some good olive oil. its great for sauteing and salads too. if canned, place in a little-teenie-tiny jar or crock and fill with oil.)
  4. toast the pine nuts in a toaster oven or simply in a heated, heavy bottomed pan. be very careful, good fresh pine nuts have a bit of oil in them and they will burn or scorch in a matter of a few seconds once they come up to temperature. remove them from the pan or tray and place them on a plate to avoid them cooking any longer - and getting too much color. this will also enhance their flavor 1,000,000%.
  5. clean and de-vein the shrimp leaving the very last tail section on for added flavor, color and a stunning presentation. pat dry with a towel, this helps them to develop their color better when you cook them. (do this with all meat, fish and veggies and you will see a distinct difference in the taste and appearance of all your meals.) season both sides with freshly ground pepper. press the pepper into the flesh a bit with your hand to assure the pepper makes it into the pan.
  6. mince the shallots and leeks. chop the parsley, and stem the basil.
  7. cut the bread and shmear with the garlic butter.
  8. open the cream, pesto, etc, and have the spoons for portioning ready too. this will make the assembly go much smoother, and if anyone is watching, you will look like a pro who actually knows what they are doing. a bit of performance always makes a meal taste better to your guests.
  9. cook the shrimp until about 85% done and set aside in the pan or dish that you cooked them in. they will continue to cook while you prepare the sauce. (searing is best, sear all 3 sides. broiling is ok, but for me, not fast enough and you loose so much of the precious juice. if yo do broil, be certain to add the pan juices form the shrimp to your sauce.)


     just to give you some perspective, this pan is 24 cm across.

  10. toast or bake the garlic bread. keep an eye on it, you do not want to burn it, but then you do not want to be having the entire dish getting cold because you neglected to start the bread.
  11. moderately heat some olive oil and some olive oil spread in a pan large enough to accommodate the amount of sauce you will be preparing. use enough to moisten the amount of veggies you will be sauteing. Note: you will want to end up with about 1 cup of finished sauce per serving.
  12. add the shallots and leeks and cook until clear. the proper terminology is to sweat.
  13. CAREFULLY flame with some pernod, 1 to 2 tablespoons per serving. do not move the pan violently, let the alcohol burn off, do not drown it by moving the pan, this leaves a bitter taste. but, do not cook it to death either.
  14. add the marinara, some of the liquor (juice) from the oysters and a bit of good paprika. shake the paprika do not spoon it in otherwise it could lump up, not tastey at all. (if no oyster juice, use a bit of clam juice), and simmer for just a few minutes.
  15. add enough heavy cream to achieve the color of pink you see in the picture below, or to taste.
  16. add the shucked oysters, chopped basil and parsley. simmer for 1 or 2 minutes longer, just long enough to poach the oysters and not reduce them to pencil erasers.
  17. turn off the pan and remove from the heat if you are using that archaic device known as an electric stove. (the only people who like these contraptions are insurance companies.)
  18. re-heat the pasta in your microwave. BE VERY CAREFUL NOT TO USE TOO MUCH POWER OR LEAVE IT FOR TOO LONG. YOU ARE HEATING IT, NOT COOKING IT.
  19. line up the warm (not hot), pre-heated plates you will use for serving and put 2/3 of each sauce portion onto the plate.
  20. arrange the pasta as shown in the picture below and top with the remaining 1/3 of each sauce portion. leave some sauce showing for the presentation FX.
  21. press one edge of each cooked shrimp gently into some of the chopped parsley, and place on top of the pasta and sauce. again, presentation.
  22. sprinkle some of the toasted pine nuts over the dish, as well as a very small amount of the cheese, arrange the feta stuffed peppers, garlic bread and garnish to accent the pasta and shrimps.
  23. drizzle some of the oil from the sun-dried tomato pesto over the dish, the bread and around the plate. do this sparingly as you only need a bit and you do not want the balance to become up-set.
  24. serve, bath in the glory, tell them there was nothing to it. accept donations, remember, this is a pricey dish.
  25. boot up your computer and show them my blog. i know, shameless pandering.


needless to say, its all in the preparation, like most things in life. sure, once you start to cook it a bit of spontaneity adds to the dish, but just have it all ready. especially if you are preparing this for a large group.

further, you may think there are a lot of ingredients here, but not really. so the better the quality of each, the better your final dish will be. 

VARIATIONS: of course i am not done ranting about this dish, we can do all sorts of things to it. setting some fresh blanched asparagus on the plate so it is sticking out from under the pasta would be great. or possibly adding a bit of sliced fresh okra, or diced eggplant to the pan when you are sauteing the shallots and leeks. possibly sprinkle a few bright green peas over the dish, or a little bit of slivered sun-dried tomato. if these stuffed peppers are not available you could use some very nice greek olives on the side instead. toss them with some crumbled feta! or, spread some feta on the garlic bread and garnish that with some chopped olives. the idea is to add some accents, not to adulterate the dish with too many other flavors.

most importantly, HAVE SOME FUN, SHARE!

ps - it took me over three hours to format the pics and write this post. it should only take about 20 minutes to cook the dish. - tlg